Setup auto responder in Webmail
You can add an auto responder for your email account in Webmail. To do this, perform the following steps:
- Log in to your Webmail interface at http://webmail.example.com or https://example.com:2096, where example.com represents your email address’s domain.
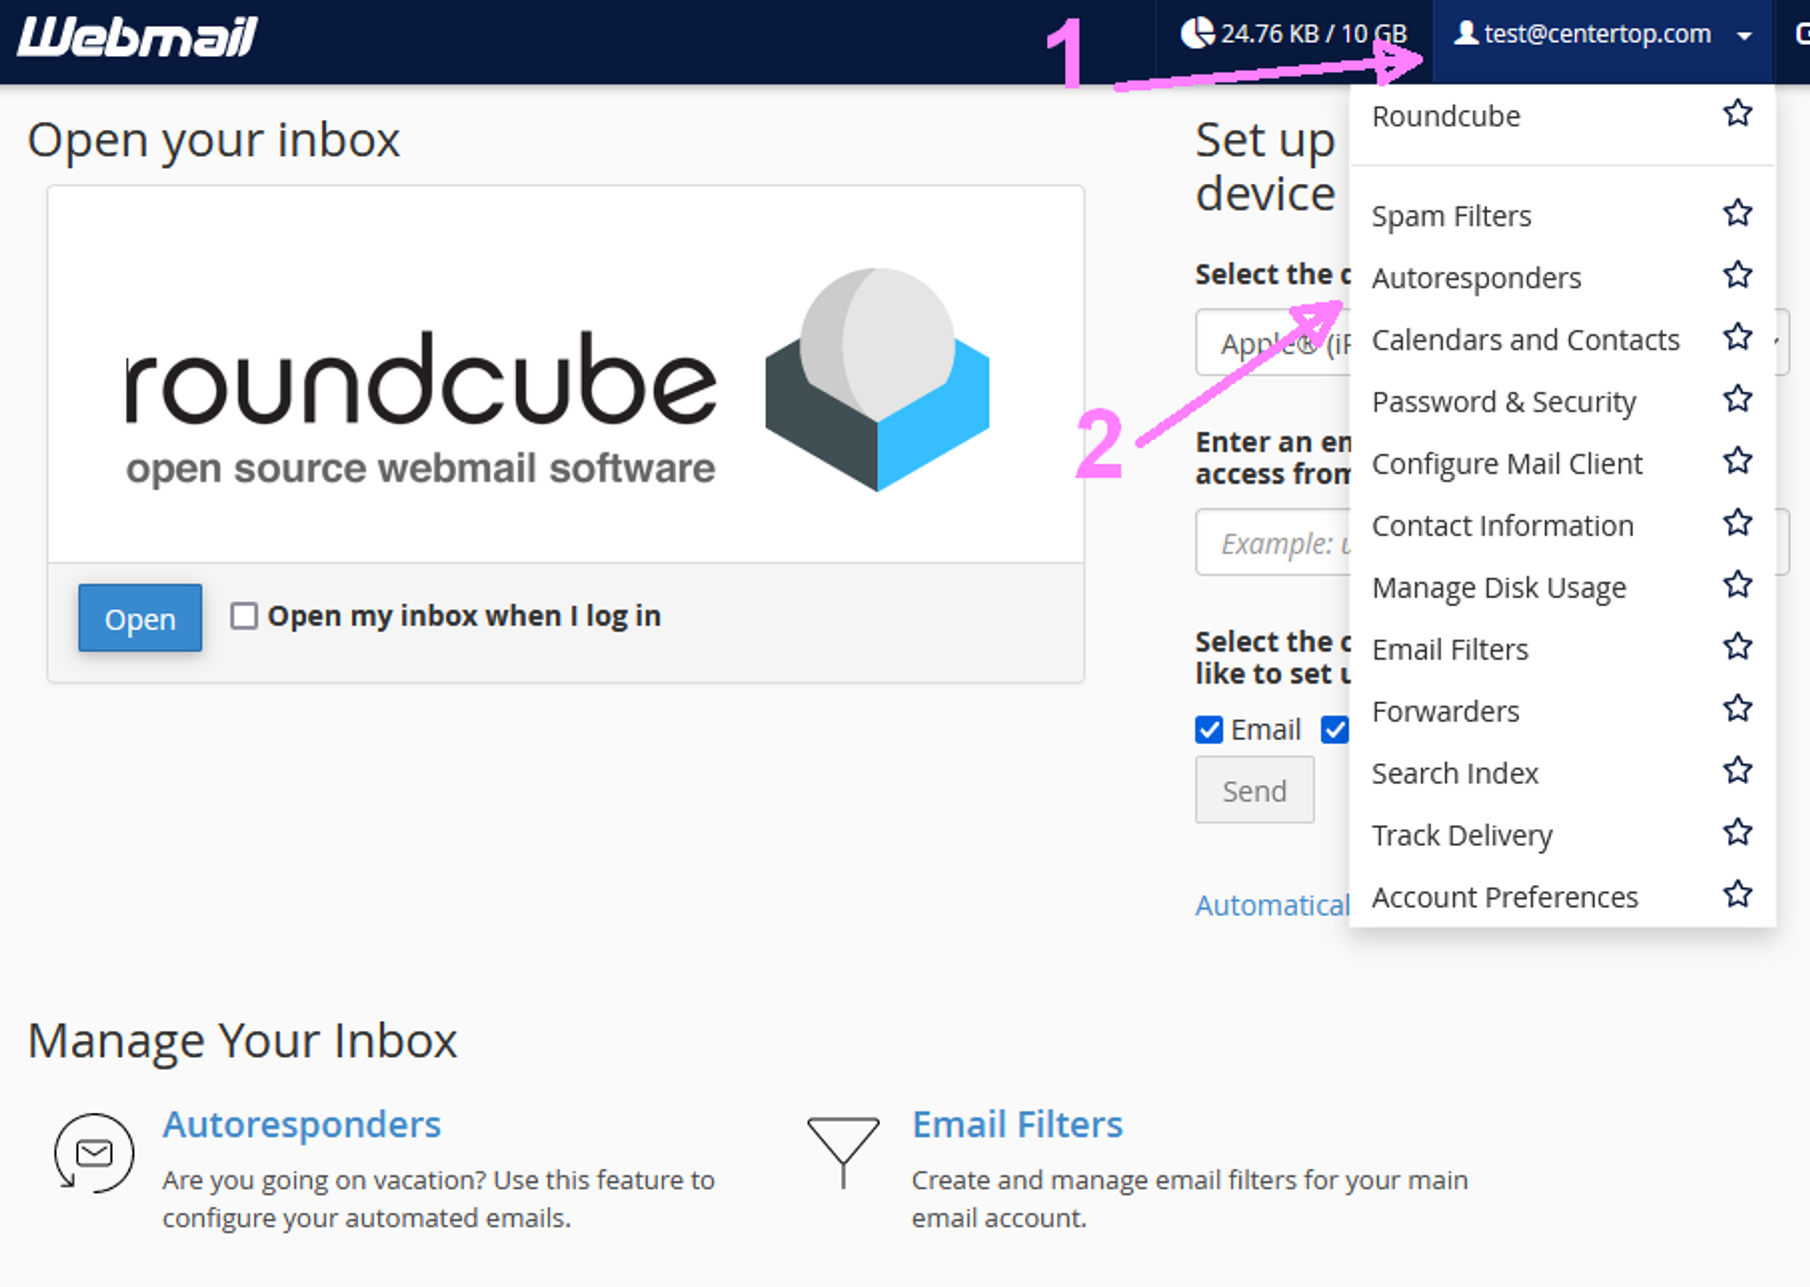
- From the email address menu at the top right corner of the interface, select auto responders. The auto responders interface will appear.
- Follow the directions in the add an auto responder section to add the auto responder. All email messages to your email account will receive this auto response until you remove it.
Add an auto responder
To add an auto responder, perform the following steps:
- Click Add auto responder. A new interface will appear.
- Select a character set from the Character Set menu.
Note:
The Character Set value defaults to utf-8. For more information, read our Guide to Locales – Why You Should Use UTF-8 documentation. - Enter the interval, in hours, for the auto responder to wait between responses to the same email address.
- For example, an auto responder with an interval of 24 that receives an email at 8:00 AM on Monday immediately responds to the message. The auto responder does not respond again if it receives a message from the same email address before 8:00 AM on Tuesday.
Note:
If you set the interval to 0, the system sends an auto response to every email.
- For example, an auto responder with an interval of 24 that receives an email at 8:00 AM on Monday immediately responds to the message. The auto responder does not respond again if it receives a message from the same email address before 8:00 AM on Tuesday.
- In the Email text box, enter the email address for which to respond.
Important:
You can only add one auto responder for each email address. If you attempt to add multiple auto responders for an email address, an error message will appear in the interface. - In the From text box, enter the username to appear in the response.
- In the Subject text box, enter the subject to appear in the response.
- If the response message includes HTML tags, select the HTML checkbox.
- In the Body text box, enter the text of the response, for example:
I am out of the office until July 2nd. You can reach me on my cell phone in case of emergencies.
Note:
You can use the %subject%, %from%, and %email% tags in the body of the message to represent information, such as the incoming email’s sender or subject. Tags use percentage signs (%) as markers. - Select a start time. You can choose Immediately or Custom.
Note:- The system bases the time on the user’s workstation operating system time and translates it into Greenwich Mean Time (GMT).
- This feature uses 12-hour notation and re formats times in 24-hour notation. For example, if you select 18:30 as the start time, the system automatically re formats the time as 6:30 PM.
- Select a stop time later than the given start time. You can choose Never or Custom.
- Click Create.
Edit an auto responder
To edit an auto responder, perform the following steps:
- Locate the auto responder that you want to edit in the Current Auto responders table and click Edit. A new interface will appear.
- Edit the auto responder’s information.
- Click Modify.
Remove an auto responder
To delete an auto responder, perform the following steps:
- Locate the auto responder that you want to delete in the Current Auto responders table and click Delete. A confirmation message will appear.
- Click Delete Auto responder.